Firebase Authentication

Integrate Firebase Authentication with your Xams application for secure user management.

Xams provides built-in Firebase authentication support with a customizable login page and comprehensive auth flows including multi-factor authentication (MFA).

The fastest way to get started is to use the Xams Firebase template which includes a complete example with React frontend.

Install Required Packages

Install the FirebaseAdmin SDK and Xams.Firebase NuGet packages.

dotnet add package FirebaseAdmin
dotnet add package Xams.Firebase

Download Service Account Key

Generate and configure your Firebase service account private key:

  1. Navigate to your Firebase project in the Firebase console
  2. Open Project settings
  3. Select the Service accounts tab
  4. Click Generate new private key in the Firebase Admin SDK section
  5. Confirm to download the JSON key file
  6. Add the JSON file to your project (e.g., in a keys folder)
  7. Configure the file to copy to output directory in your project settings

Configure User Entity

Add the required Firebase fields to your User entity:

Project / Entities / AppUser.cs

public class AppUser : User
{
[UIRequired]
[MaxLength(100)]
public string? EmailAddress { get; set; }
[UIRequired]
[MaxLength(50)]
public string? FirebaseId { get; set; }
}

Register AppUser in your DbContext:

Project / DataContext.cs

public class DataContext : XamsDbContext<AppUser>
{
...
}

Configure Authentication

Add Firebase authentication to Program.cs:

Project / Program.cs

builder.Services.AddAuthorization();
FirebaseApp.Create(options: new AppOptions()
{
Credential = GoogleCredential.FromFile($"./keys/firebase-{environment.ToLower()}.json")
});
builder.Services
.AddAuthentication(JwtBearerDefaults.AuthenticationScheme)
.AddJwtBearer(options =>
{
options.AddXamsFirebaseAuth(firebaseProjectId);
options.AddXamsSignalRAuth();
});

Configure API Endpoints

Configure the Xams API with Firebase support in Program.cs:

Project / Program.cs

var app = builder.Build();
app.UseHttpsRedirection();
app.UseAuthentication();
app.UseAuthorization();
// Add proxy for Firebase auth redirects (before static files)
// Enables proper redirect handling on custom domains
// Reference: https://firebase.google.com/docs/auth/web/redirect-best-practices
app.AddFirebaseAuthProxy(firebaseProjectId);
app.UseStaticFiles();
// Configure Xams API with Firebase integration
app.AddXamsApi(options =>
{
options.UseDashboard = true;
options.RequireAuthorization = true;
options.GetUserId = UserUtil.GetUserId;
options.FirebaseConfig = builder.Configuration.GetSection("FirebaseConfig").Get<FirebaseConfig>();
});
// Add Firebase-specific endpoints (e.g., email verification)
app.AddXamsFirebaseApi();

User Authentication Helper

Create a UserUtil class to handle user authentication, automatically creating Xams users from Firebase claims:

Project / UserUtil.cs
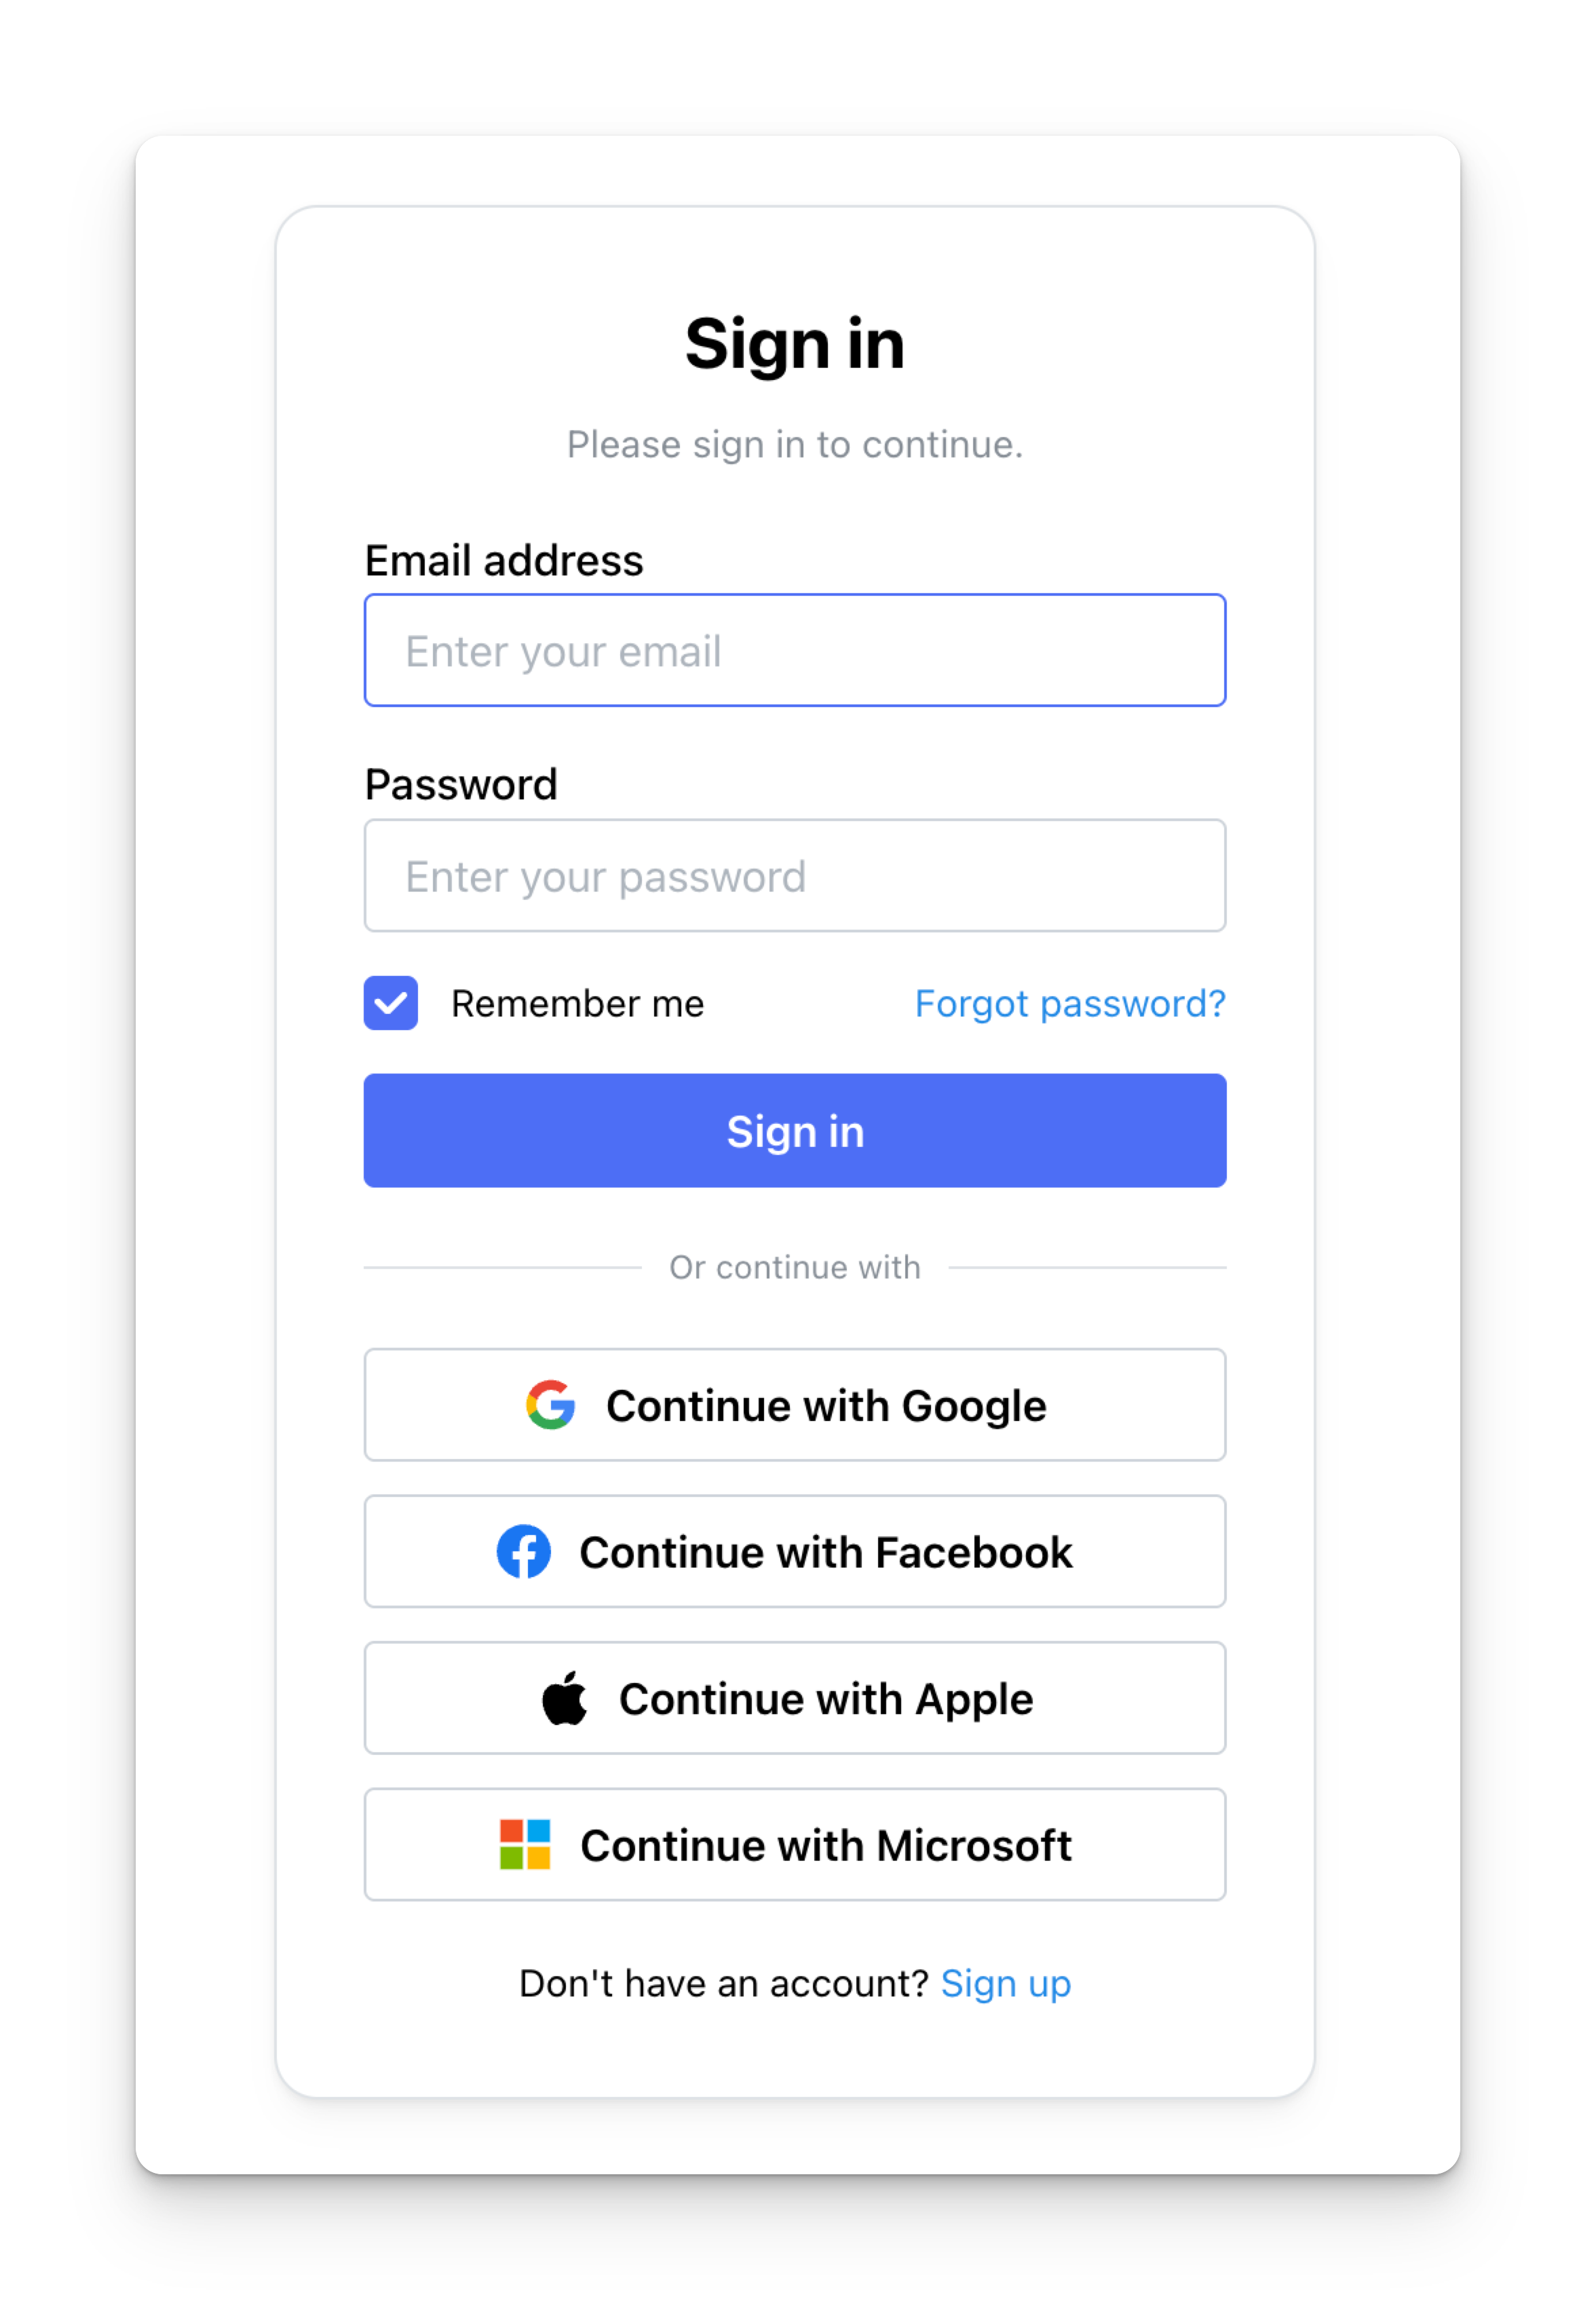
public class UserUtil
{
public static async Task<Guid> GetUserId(HttpContext httpContext)
{
var userIdClaim = httpContext.User.Claims
.Where(x => x.Type == ClaimTypes.NameIdentifier)
.Select(x => x.Value).FirstOrDefault();
var emailClaim = httpContext.User.Claims
.Where(x => x.Type == ClaimTypes.Email)
.Select(x => x.Value).FirstOrDefault();
if (userIdClaim == null)
{
throw new Exception("UserId not found");
}
using (var db = new DataContext())
{
var user = await GetUser(db, userIdClaim, emailClaim);
try
{
// Create user if not found
if (user == null)
{
user = await CreateUser(db, userIdClaim, emailClaim);
}
}
catch (Exception e)
{
// Handle concurrent user creation attempts
// Add random delay to prevent race conditions
var rnd = new Random(DateTime.Now.Millisecond);
await Task.Delay(rnd.Next(20, 150));
// Retry retrieval and creation
user = await GetUser(db, userIdClaim, emailClaim);
if (user == null)
{
user = await CreateUser(db, userIdClaim, emailClaim);
}
}
return user.UserId;
}
}
private static async Task<AppUser?> GetUser(DataContext db, string? userIdClaim, string? emailClaim)
{
var user = await db.Users.FirstOrDefaultAsync(x => x.FirebaseId == userIdClaim) ??
await db.Users.FirstOrDefaultAsync(x => x.EmailAddress == emailClaim);
return user;
}
private static async Task<AppUser> CreateUser(DataContext db, string userIdClaim, string? emailClaim)
{
var user = new AppUser();
user.FirebaseId = userIdClaim;
user.Name = emailClaim;
user.EmailAddress = emailClaim;
user.CreatedDate = DateTime.UtcNow;
db.Add(user);
await db.SaveChangesAsync();
var userRole = new UserRole<AppUser, Role>();
userRole.UserId = user.UserId;
// Assign default role (customize as needed)
userRole.RoleId = new Guid("0526627a-ac19-4228-a512-8a817edd4e95");
db.Add(userRole);
await db.SaveChangesAsync();
return user;
}
}

Firebase Configuration

Add your Firebase configuration to appsettings.json:

{
"FirebaseConfig": {
"apiKey": "xxxx",
"authDomain": "xxxx.firebaseapp.com",
"projectId": "xxxx",
"storageBucket": "xxxx.appspot.com",
"messagingSenderId": "xxxx",
"appId": "1:xxxx:web:xxxx",
"measurementId": "G-XXXX",
"providers": ["google", "facebook", "apple", "microsoft"],
"enableSmsMfa": true
}
}

Google Provider

To configure Google as an authentication provider and enable custom domain redirects:

  1. Go to Google Cloud Console

    • Open the Google Cloud Console and select your project linked to your Firebase app.
  2. Navigate to OAuth 2.0 Credentials

    • In the left sidebar, click on "APIs & Services," then choose "Credentials."
    • Under "OAuth 2.0 Client IDs," find the web client associated with your Firebase project and click the pencil/edit icon.
  3. Add Your Redirect URL (Required for Custom Domains)

    • The default redirect URL for Firebase Authentication will look like:
      https://YOUR_PROJECT_ID.firebaseapp.com/__/auth/handler
    • For custom domains (required when using Google authentication with your own domain), add your Xams ASP.NET project URL:
      https://YOUR_CUSTOM_DOMAIN/__/auth/handler
      The /__/auth/handler endpoint is automatically provided by the Xams framework when you configure Firebase authentication with app.AddFirebaseAuthProxy(). This implements Option 3 from Firebase's redirect best practices - proxying the auth handler through your application backend. This configuration is essential for Google OAuth to properly redirect users back to your custom domain after authentication.
    • For local development, use:
      https://localhost:PORT/__/auth/handler
    • Replace YOUR_PROJECT_ID with your Firebase project ID, YOUR_CUSTOM_DOMAIN with your production domain hosting the Xams API, and PORT with your local development port.
  4. Add the Redirect URL to Authorized Redirect URIs

    • In the OAuth client settings, scroll to the "Authorized redirect URIs" section.
    • Click "Add URI" and paste in your Firebase project's handler URL(s).
    • Add both your production and localhost URLs for development convenience.
  5. Save Changes

    • After adding your URLs, click "Save" at the bottom of the OAuth client configuration page.
  6. Use Your Redirect URL in Code (Optional)

    • In most setups, Firebase Authentication manages the redirect internally, so you don't need to specify it in your frontend code.
    • If you are configuring the authDomain in your Firebase initialization, match it to your custom domain if used.

Test Your Configuration

Navigate to the admin dashboard to verify Firebase authentication is working:

Example: https://localhost:8000/x

You should see the Firebase login page with your configured authentication providers.

React Setup

Install the required npm packages:

npm install firebase@^11.6.0 @ixeta/xams-firebase @ixeta/headless-auth-react @ixeta/headless-auth-react-firebase

Configure your React application environment variables:

NEXT_PUBLIC_API=https://localhost:7102/

In your _app.tsx file, import the Firebase styles and wrap your application with the XamsFirebaseAuthProvider. The auth-recaptcha div element is required for phone authentication functionality.

import "@/styles/globals.css";
import type { AppProps } from "next/app";
import "@mantine/core/styles.css";
import "@mantine/dates/styles.css";
import { createTheme, MantineProvider } from "@mantine/core";
import {
AppContextProvider,
AuthContextProvider,
getQueryParam,
} from "@ixeta/xams";
import "@ixeta/xams/styles.css";
import "@ixeta/xams/global.css";
import { useRouter } from "next/router";
import { AuthProvider } from "@ixeta/headless-auth-react";
import { XamsFirebaseAuthProvider } from "@ixeta/xams-firebase";
const theme = createTheme({});
export default function App({ Component, pageProps }: AppProps) {
const router = useRouter();
const userId = getQueryParam("userid", router.asPath);
return (
<MantineProvider theme={theme}>
<XamsFirebaseAuthProvider apiUrl={process.env.NEXT_PUBLIC_API ?? ""}>
{(context) => (
<AuthProvider authConfig={context.firebaseAuthConfig}>
<AuthContextProvider
apiUrl={process.env.NEXT_PUBLIC_API as string}
headers={{
UserId: userId as string,
}}
onUnauthorized={() => {
context.firebaseAuthConfig?.signOut();
if (router.isReady) {
router.push("/");
}
}}
getAccessToken={context.firebaseAuthConfig?.getAccessToken}
>
<AppContextProvider>
<Component {...pageProps} />
<div id="auth-recaptcha" className="invisible" />
</AppContextProvider>
</AuthContextProvider>
</AuthProvider>
)}
</XamsFirebaseAuthProvider>
</MantineProvider>
);
}

Create the authentication pages for login, user profile management, password reset, and Firebase action handling:

src/pages/login.tsx

import React from "react";
import { useRouter } from "next/router";
import { LoginPage } from "@ixeta/xams-firebase";
const Login = () => {
const router = useRouter();
// Modify to redirect to desired app page after login
return <LoginPage onLoginSuccess={() => router.push("/")} />;
};
export default Login;

src/pages/profile.tsx

import React from "react";
import { ProfilePage } from "@ixeta/xams-firebase";
const Profile = () => {
return <ProfilePage />;
};
export default Profile;

src/pages/reset-password.tsx

import React from "react";
import { ResetPasswordPage } from "@ixeta/xams-firebase";
const ResetPassword = () => {
return <ResetPasswordPage />;
};
export default ResetPassword;

src/pages/__/auth/action.tsx

import React from "react";
import { ActionPage } from "@ixeta/xams-firebase";
const AuthAction = () => {
return <ActionPage />;
};
export default AuthAction;

Configure the Firebase email template action URL to redirect to your Xams application:

  1. Navigate to Authentication → Templates in the Firebase console
  2. Select an email template and click Edit Template
  3. Click Customize action URL
  4. Set the URL to your application's action handler (e.g., https://localhost:3000/__/auth/action)

This URL handles email verification, password reset, and other Firebase authentication actions.

Was this page helpful?