Quickstart
This guide will get you up and running with Xams and covers the following:
- Creating tables
- Displaying and creating records from a datatable
- Writing service logic
- Creating forms
Prerequisites
Templates
Clone one of the following templates from GitHub to get started quickly.
Install EF Core Tools
Ensure you have version 8+ of the Entity Framework Core tools installed.
Terminal
Create an Entity
- In the ASP.NET project create a new class file in the Entities folder and name it "Widget.cs"
Project / Entities / Widget.cs
- Add the Widget class to the DataContext class.
Project / DataContext.cs
- In the ASP.NET project directory execute the commands below to create a migration and update the database.
Terminal
- Run the
httpsproject. You can access the admin dashboard by navigating to/xamsin your browser. In development you can provide the user id of any user you want to impersonate via the query string. For example, to impersonate the SYSTEM user: https://localhost:7102/xams?userid=f8a43b04-4752-4fda-a89f-62bebcd8240c
A new Xams project isn't configured with Authentication or Authorization but still has users. Whenever the api starts, it creates system records. One of those system records is the "SYSTEM" user. The Id of this user is always f8a43b04-4752-4fda-a89f-62bebcd8240c.
Create a Datatable
- In the NextJs project run
npm install - Run
npm run devto start the development server and navigate tohttp://localhost:3000/?userid=f8a43b04-4752-4fda-a89f-62bebcd8240c - Paste the following code in index.tsx
src / pages / index.tsx
This will create the following table.
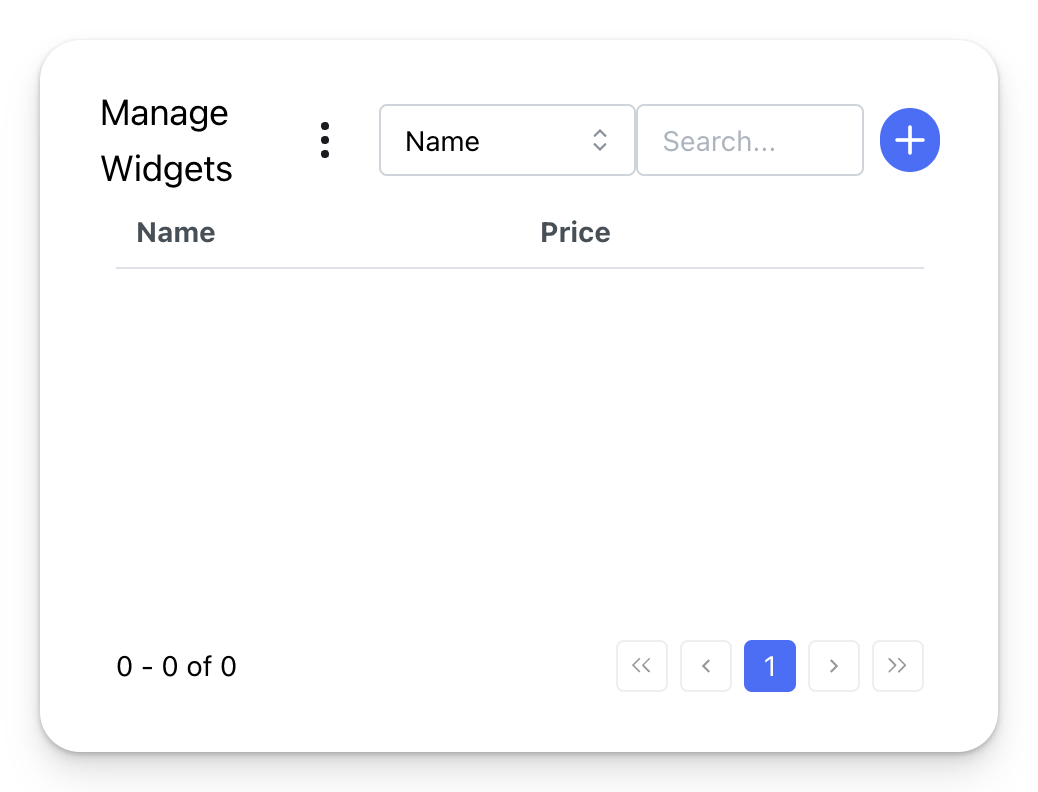
If you click the "Add" button on the table, a form will open where a new record can be created.
Add Service Logic
We can have the service layer automatically set a price for the Widget based on the number of Widgets in the database.
- Create a new folder named
Services. Create a new class file in theServicesfolder and name it "WidgetService.cs" - Replace the class in the file with the code below.
Project / Services / WidgetService.cs
Create a Record
- Replace the code in index.tsx with the following.
src / pages / index.tsx
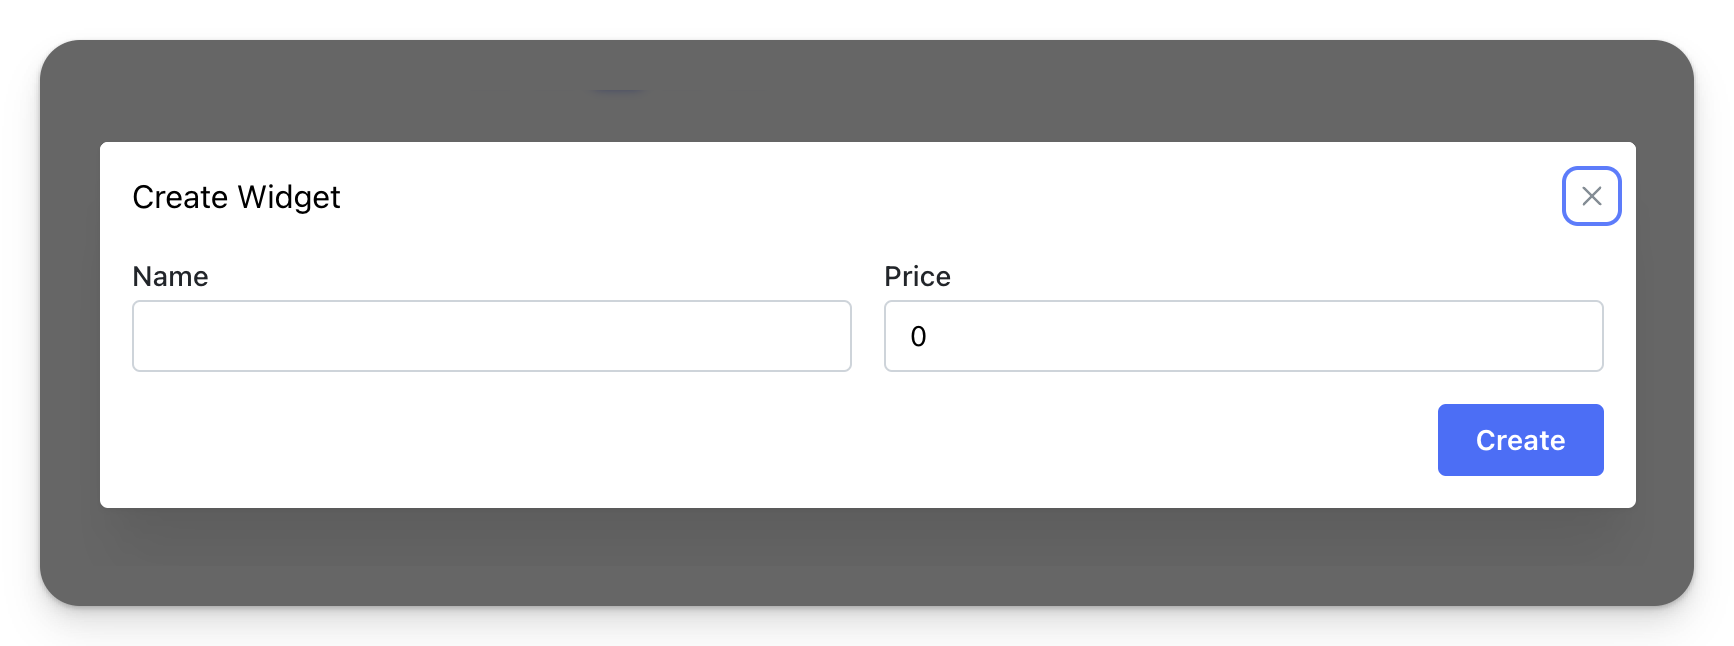
When the button is clicked, a Widget record will be created with the provided data.
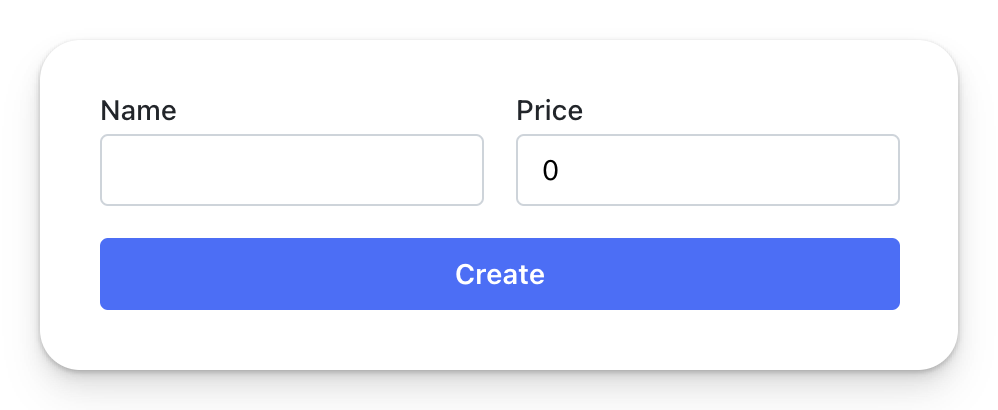
Create a Form
- Replace the code in index.tsx with the following.
src / pages / index.tsx
This will create the below form:
Build and Deploy
When you're ready to deploy your application:
- In the NextJS project directory, build the static site:
Terminal
-
The build outputs to the
outfolder. Copy the contents of this folder to thewwwrootdirectory in your ASP.NET project. -
Run your ASP.NET application - it will serve the static NextJS site.